A great use for an iPad collecting dust
Do you happen to have an extra iPad laying around the house that you no longer use? I kept my iPad 2 for years before finally upgrading to the iPad Air 2, which meant the iPad 2 just sat in a desk drawer. But why waste a perfectly good iPad, right?
I previously wrote about how you can setup dual monitors in Windows, but that requires a second monitor. Luckily, with some ingenious software, you can use your older iPads (2nd, 3rd, or 4th generation), iPad Airs (1 & 2), or iPad Pros as a second screen or second monitor to your Mac or Windows PC. This basically involves installing an app on your iPad and on your computer and then connecting the two directly using either a lightning cable or 30-pin cable (dock connector).
My favorite app and the only one I recommend is Duet Display. There are other options like Air Display and iDisplay, but both cost about the same and don’t work nearly as well. The direct connection between the computer and iPad make the experience virtually lag-free, which is very important when using a second screen. Trying to do this over WiFi (i.e. Air Display) was just painfully slow and not a good implementation.
Duet Display
It’s also worth noting that Duet Display was created by ex-Apple engineers and is probably one of the main reasons it works so well with iPads and Macs. The app costs $16, which is super-expensive when you look at the price of most apps in the App Store, but I would think of this more like a standard Windows or Mac program.
Getting everything setup is very straight-forward and doesn’t require any kind of account creation or anything like that. First, go ahead and download the app onto your iPad. Note that you can also use your iPhone as a second screen, but it was kind of useless in my tests. You definitely need a bigger screen in order to do any work properly.
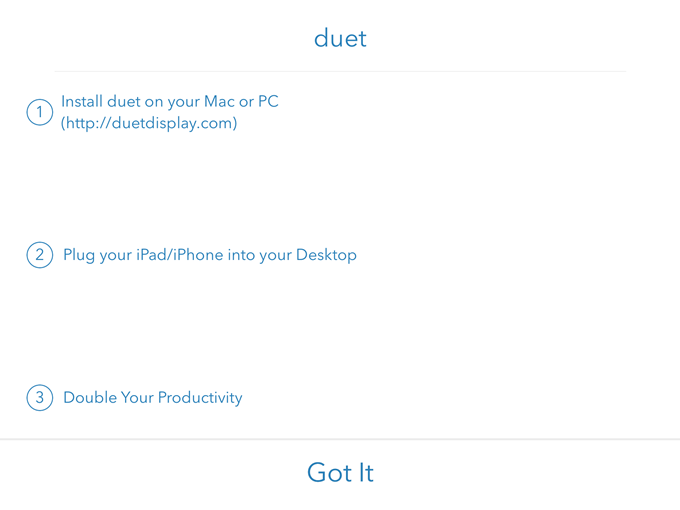
When you open the app, you’ll get some really simple instructions that tell you to go ahead and download the software on to your computer first.
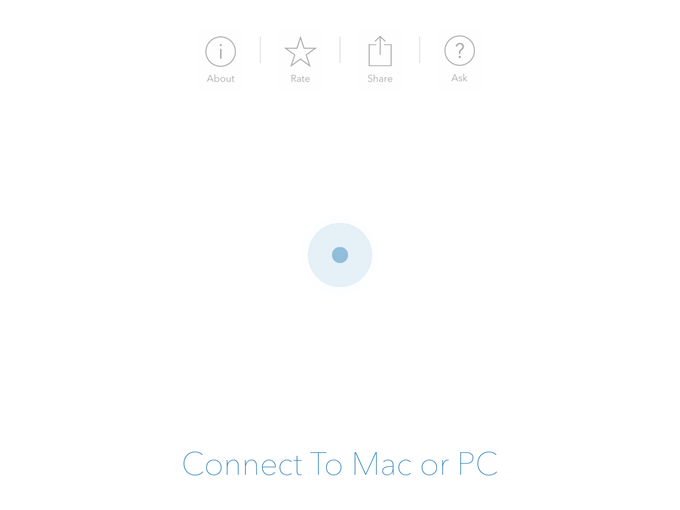
Tap Got It and you’ll see a screen asking you to connect your iPad to your computer. Before we do that, however, we need to install the software on the PC or Mac first.
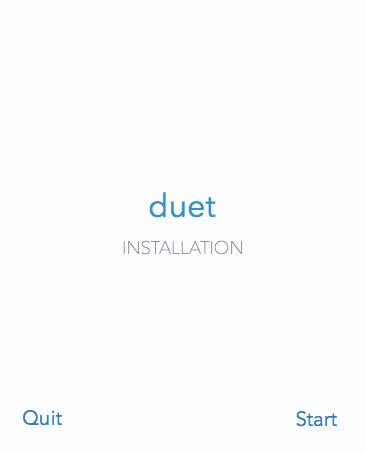
Go ahead and download the PC or Mac program onto your computer and install it. On the Mac, you’ll get a sleek rectangular install screen on startup.
Click the Start link, check I Agree and then click Authorize and Install on the next screen.
After the installation is complete, you’ll be asked to restart your computer. Go ahead and do that. Once you log back on, you should see a final screen telling you to find the Duet icon in the menu bar in OS X or the system tray in Windows.
If you click on the icon, it will ask you to connect your device to the computer.
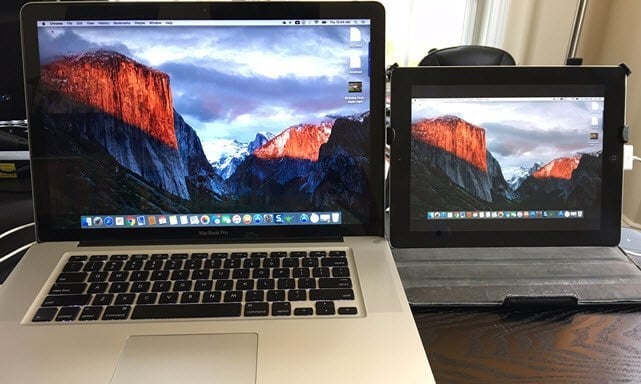
At this point, open the Duet Display app on your iPad and then connect it to your computer. It should automatically detect your computer and mirror the screen. Here is what my setup looked like by default.
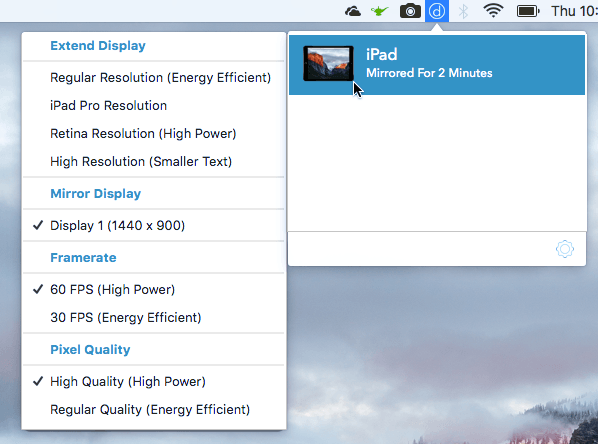
Here I am using an older MacBook Pro Mid-2009 with an iPad 2 and everything looked pretty good. Everything was a little small on the iPad, but that’s because it’s an older iPad 2 and because I had it setup to mirror the display. If you click on the icon in the menu bar, you can change the settings.
You’ll see Extend Display at the top, followed by Mirror Display, Framerate and Pixel Quality. If you want to extend the display to the iPad rather than just mirror it, go ahead and select one of the four options: Regular Resolution, iPad Pro Resolution, Retina Resolution, or High Resolution.
Note that you will not be able to select anything other than Regular Resolution if you are using an older iPad like the iPad 2. You can use Retina or High if you have a retina iPad. The iPad Pro option is obviously for only iPad Pros.
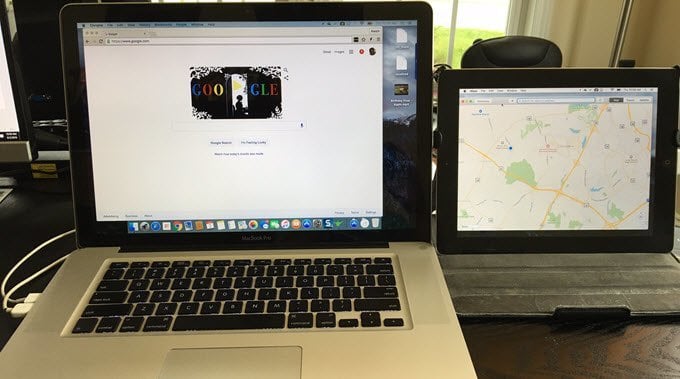
What I really liked about Duet Display is that the second screen really acts like a separate second monitor. What I mean is that you can drag windows from your main screen onto your iPad and have different apps open on each screen. Here’s a screenshot of Chrome open on my MacBook Pro and Maps open on the iPad.
You’ll notice that on the iPad there is a menu bar and also the dock. What’s really cool is that you can have multiple desktops on the iPad and on the main Mac. While my mouse is on the iPad screen, I can also use all the normal trackpad gestures to swipe between desktops without changing anything on the main Mac.
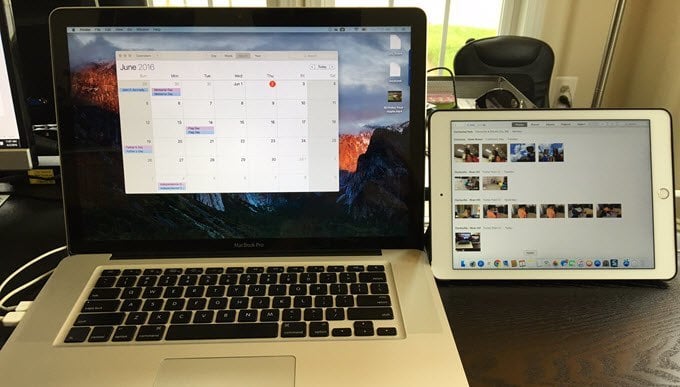
Definitely using a higher resolution iPad like the Air or Pro makes everything look a lot nicer.
I didn’t run into any trouble on my Mac, but I did run into some issues on my Windows laptop. Luckily, their customer support is excellent and I had the issue resolved in a matter of hours. Apparently, I needed a different video driver, which they emailed me, and that fixed the problem.
If you’re planning on using this with a desktop computer, you’ll probably need to buy yourself a 6-foot lightning cable and also some sort of stand so that your iPad can be placed right next to your monitor.
Overall, if you find yourself not using your iPad all that often, converting it into a second monitor is a great option that costs way less than the traditional method of using two monitors. If you have any questions, post a comment. Enjoy!

